After I made several prints I really wanted to update the running firmware of this printer. I knew some version of Repetier was running on it but I had no clue what version.
I've tried to upload the bootloader with my USBtyniISP but the ATmega 1284P is not supported. So I just used my Arduino Uno instead.
This is a short step by step instruction of how to upload a bootloader to your Melzi board. After that we will load a fresh repetier firmware onto the Melzi. And as an option I will show you how to add a very useful switch for the board power.
1. Make sure you have all tools.
- Allen keys
- Laptop
- USB-B cable (for Arduino Uno)
- USB mini cable (for Melzi)
- Arduino Uno
- Jumper wires
- Micro switch (optional)
- Servo cable (optional)
- Soldering iron (optional)
- Hot glue gun (optional)
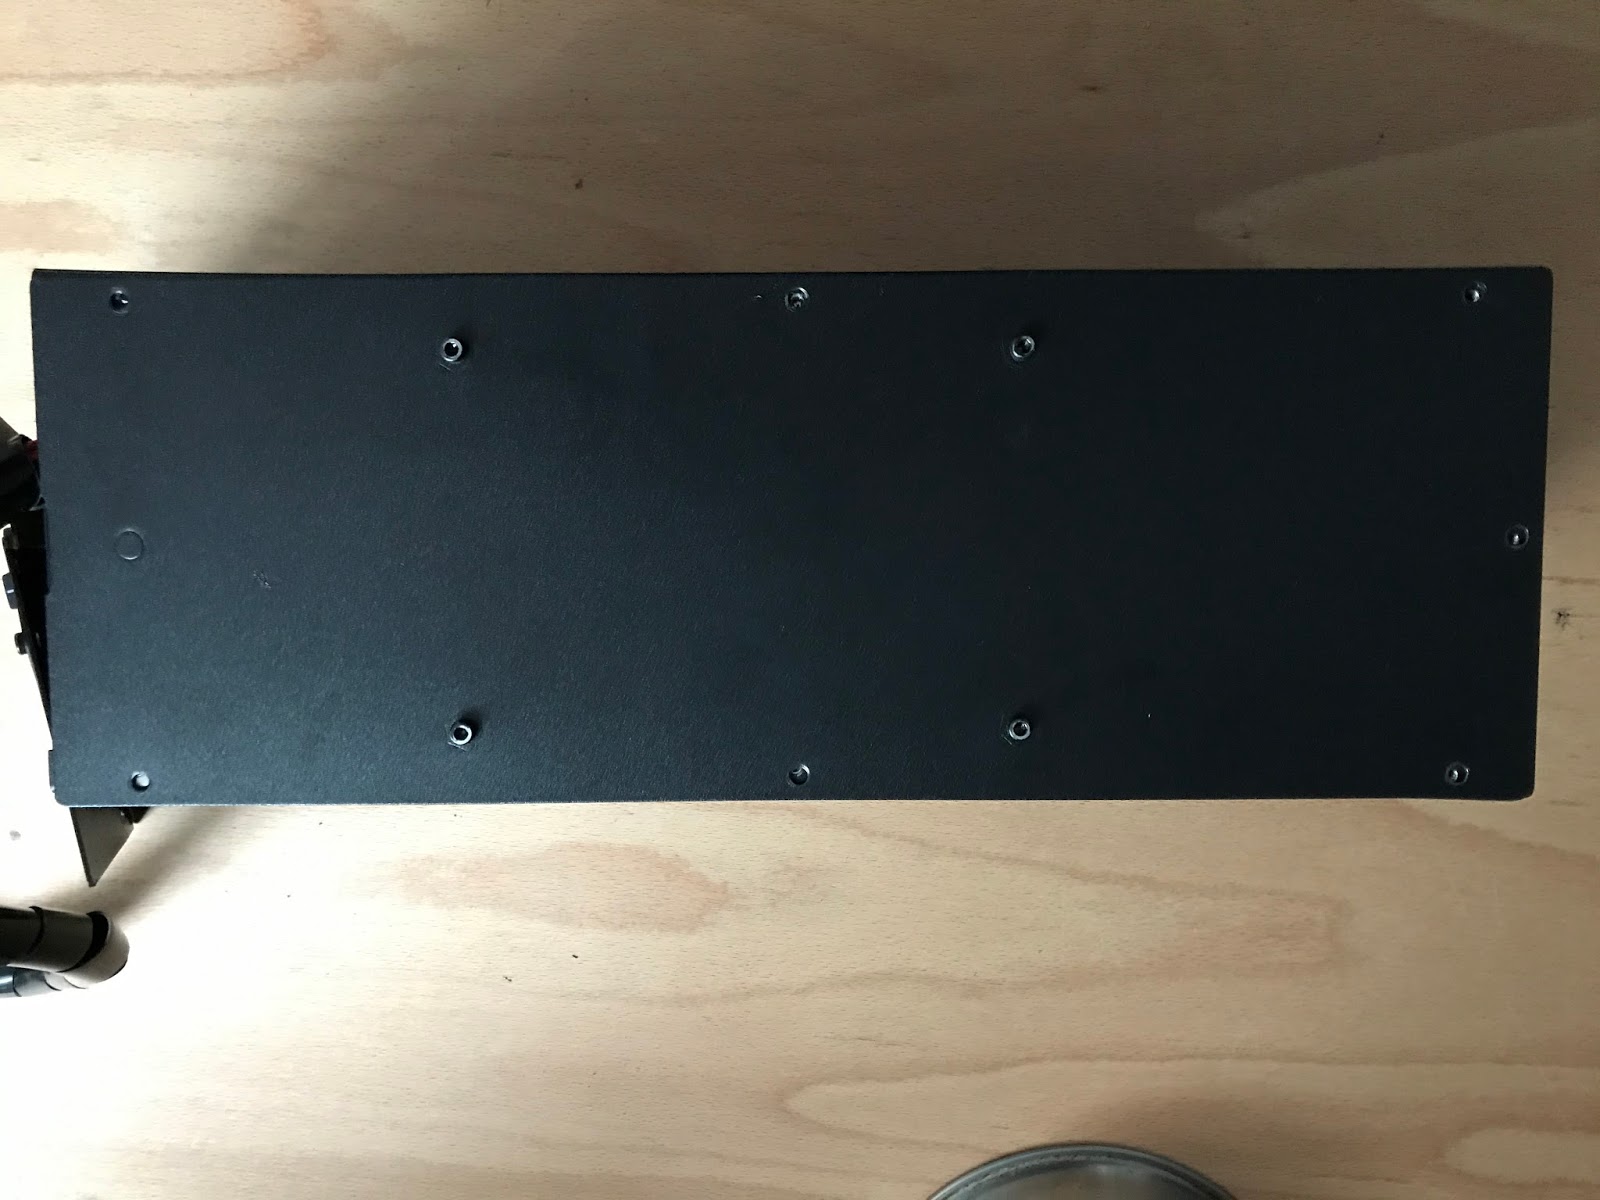
2. Disconnect the 3D printer from power supply and open the case. Unscrew the 4 bolts on the back and the 7 on the bottom (leave the "inner" 4 bolts as they hold the power supply).

3. Slide off the top case (to the front) and change the jumper PWR - SEL from VRES to USB. This way the Melzi will be powered by USB.

4. Open the Arduino IDE and connect your Uno with the USB cable. Open the sketch "ArduinoISP". Choose the board "Arduino Uno", the correct port of the UNO and upload the sketch.

5. Now the UNO can act as a ISP programmer for the Melzi board. Connect the UNO pins with the jumper cables to the ISP port of the Melzi board.

Arduino Pin --- Melzi ISP Pin
10 --- RES
11 --- MOSI
12 --- MISO
13 --- SCK
5V --- 5V
GND --- GND
6. Download the Sanguino board library from here: http://lauszus.com/Sanguino/
7. Connect the Melzi with the USB cable to your computer. The computer must be connected to the Arduino and the Melzi at the same time.
8. In the Arduino IDE choose the following:
- Board: "Sanguino"
- Processor: ATmega1284P (16MHz)
- Port: Choose the port of the Arduino (not the Melzi, as this will not work)
- Programmer: Arduino as ISP
Then click on "burn bootloader" The LED on the Arduino will blink a few times.
Wait for the confirmation message in the IDE.
9. The bootloader is now on the Melzi, so we don't need the Uno anymore. Disconnect the jumper wires.
10. For the firmware you can use whatever you like. I've used a firmware from repetier v0.92.10. I tried to make one from the repetier online configurator but it failed to compile in the Arduino IDE (as of May 08.2017) so I found this firmware made for the Wanhao i3 from a google group. I've changed some parameters to fit my Hyperion Forge 3D
In Configuration.h change #define GENERIC_THERM1_R2 from 10'000 to 4700
The Forge 3D uses 4700Ohm pullups on the thermistor instead of 10'000Ohm on the Wanhao, this caused my temperature reading to be off by about 50%. So here is my Firmware.
In Configuration.h change #define GENERIC_THERM1_R2 from 10'000 to 4700
The Forge 3D uses 4700Ohm pullups on the thermistor instead of 10'000Ohm on the Wanhao, this caused my temperature reading to be off by about 50%. So here is my Firmware.
11. OPTIONAL Now we will install the super-convenience-hack for the next time we want to upload a fresh or updated firmware. With this modification you don't have to open the case every time to switch the PWR-SEL from VREG to USB.
12. Prepare the servo connector and the micro switch. Maybe you need some wiring.

13. Fire up your soldering iron and connect the servo connector and the micro switch.

14. Use some shrink tube to cover the connections.

15. Cut out the wire mesh on one of this holes.

16. Fire up your hot glue gun.

17. Glue the micro switch in place.


18. Connect the servo connector to the PWR-SEL pins.

19. Make some label so you know on what setting the switch is.

20. Now you can close the case and never have to open it again for firmware updates :-) If you like some feet for the printer, you can print out my design (then the printer will not stand on the bolts anymore)

21. You now have reached the end of this instruction. I hope you enjoyed it.
Best regards
Stanley
Hi
AntwortenLöschenDo you still use this printer?
Since octoprint (and other sources) shows a warning that the Repetier 0.91 is a fire risk I asked Hyperion for a newer version of the firmware.
They just replied with the original Repetier 0.91 but it includes all original Hyperion configuration settings.
If you are interested I could send you the source.
Merkur - Safety Razor #41 - Xn B910A26eepc81
AntwortenLöschenMerkur - Safety Razor #41 is designed 메리트 카지노 주소 for experienced and 바카라 experienced wet shavers. The Merkur Adjustable 메리트카지노 Safety Razor features an extra